 how-to
How to Document Roof Storm Damage for Insurance
Quick Summary
To document roof storm damage for insurance, first ensure safety by photographing from the ground, then record the storm date and weather conditions. Take wide, mid-range and close-up photos of each roof slope, label them with date and location, and keep original files untouched.
- Photograph and inspect from the ground; avoid climbing onto a wet or damaged roof.
- Record the storm date, time, wind speed, hail size and rainfall, with saved weather reports.
- Take wide-angle, mid-range and close-up shots of each roof slope, with a coin or ruler for scale.
- Name each photo with the date and location, and back up originals to a cloud folder.
- Keep a dated damage log and keep damaged materials until the adjuster has inspected them.
Table of Contents
- Start With Safety Before You Document Anything
- Record the Storm Date, Time and Weather Conditions
- Photos of Roof Storm Damage for Insurance: A Step-by-Step Checklist
- Roof Inspection After a Storm: Why a Professional Report Helps
- Building the Documents for Your Roof Insurance Claim
- Writing a Roof Damage Report for Insurance That Holds Up
- Organize Your Damage File and Schedule Your Next Step With SunPro
- Frequently Asked Questions
Start With Safety Before You Document Anything
Last Updated: November 9, 2026
Storm damage to a roof often shows up as a leak, a stain on the ceiling, or shingles scattered in the yard.
Here is a simple safety checklist to follow:
- Stay off the roof if it looks sagging, cracked, or wet.
- Watch for downed power lines, broken glass, and exposed nails in the yard.
- Use binoculars or a zoom lens to look at upper roof areas from the ground.
- Keep children and pets away from the work area.
- Call a licensed professional for an inspection if you cannot see the roof safely.
Watch out: Do not climb a ladder onto a wet or damaged roof to take photos.
Safety comes first, but it does not mean you should wait. Insurers expect prompt documentation, so take your ground-level photos as soon as the storm passes and it is safe to be outside.
Record the Storm Date, Time and Weather Conditions
Your insurance claim depends on a clear timeline. Write down the exact date and time the storm hit your property.
A written timeline helps adjusters match the damage to a specific weather event. Insurers may question a claim when the damage cannot be linked to a storm date, so this step matters.
Some useful details to record include:
- Date and time the storm started and ended
- Wind speed and direction, if reported
- Hail size, if any fell
- Rainfall totals for the event
- Any local warnings or advisories issued that day
Your records of the storm do not replace the damage photos, but they show the adjuster when the event happened and how strong it was. Compare the damage you see against the warning signs that call for roof repair.
Photos of Roof Storm Damage for Insurance: A Step-by-Step Checklist
Good photos are the backbone of any claim, but the difference between a useful photo set and a weak one is usually organization, not camera quality. Take the shots in a deliberate sequence, label them as you go, and preserve the originals. Use a smartphone with the date and time feature turned on, turn off filters and live-photo effects, and avoid editing or cropping the images.
A Shot List You Can Follow From the Ground
Work through this list in order so the adjuster can see the whole roof and then the details. For each roof slope, capture three distances:
- Wide-angle establishing shots: Stand far enough back to capture the full roof and the house, including the address marker or a recognizable landmark. This shows where the damage sits on the property.
- Mid-range context shots: Move closer to photograph a section, such as a corner, a ridge, or a row of shingles, with enough surrounding roof visible to locate it.
- Close-up detail shots: Capture the specific damage, such as a missing shingle, a crack, a dent in a gutter, or granule loss. Include a coin or ruler in close-ups to show the size of dents or hail marks.
Then repeat for these peripheral components, which are easy to overlook:
- Gutters and downspouts, especially dents, seams, and pulled-away sections
- Vents, skylights, and chimney flashing
- Window frames, screens, and siding near the roofline
- Ceiling stains, wet drywall, or bubbling paint inside the home
- Water spots on walls near the attic or top floor
Take photos inside the home too, and note the room and time each stain was first seen. Interior water damage often shows up hours or days after a storm, so keep checking and document any new signs.
How to Frame and Label Each Photo
A common pattern among adjusters is that an unlabeled photo is treated as weak evidence because it cannot be tied to a location or date. Build the label into the shot and the file name:
- Start each photo set with a wide shot that includes the house number or a fixed landmark.
- Before moving to the next area, photograph a handwritten or printed card showing the date, the roof slope, and the damage description.
- Name each file with the date, location, and subject, for example
2026-11-09_north-slope_missing-shingles-01.jpg. - Keep a simple log that matches each file name to a one-line description and the time it was taken.
Watch out: Do not rely on the phone's gallery order alone. If you delete, edit, or re-save an image, you can strip the metadata that proves when it was taken, so copy originals to a separate folder before you touch them.
Preserve the Originals and Back Them Up
Treat the original files as evidence. Copy them to a cloud folder and a second drive before you sort or rename anything, and keep the originals untouched.

The article lays out the shot sequence an adjuster expects, so here is the photo set at a glance.
| Shot type | Purpose | Tip |
|---|---|---|
| Wide-angle establishing | Shows where damage sits on the property | Include the address marker or a landmark |
| Mid-range context | Locates a section such as a corner or ridge | Keep enough surrounding roof visible |
| Close-up detail | Captures the specific damage | Include a coin or ruler for scale |
| Peripheral components | Covers gutters, vents, siding and flashing | Check seams and pulled-away sections |
| Interior stains | Records water damage inside the home | Note the room and time first seen |
Roof Inspection After a Storm: Why a Professional Report Helps
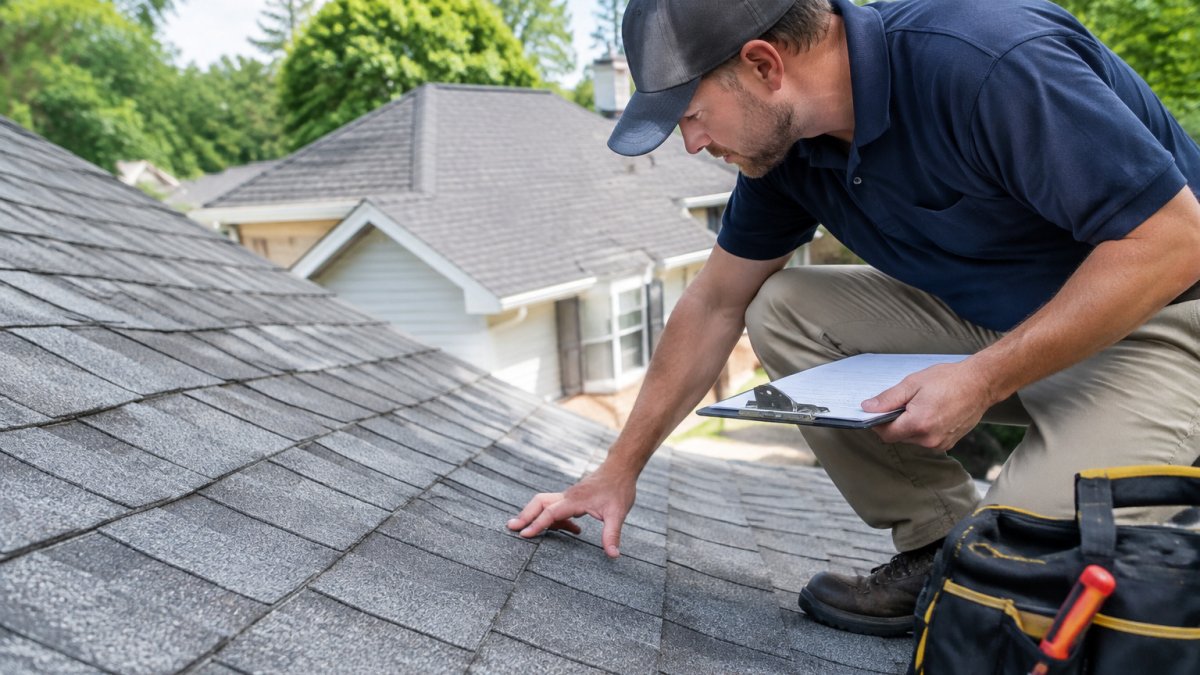
A professional roof inspection gives your claim an expert record of the damage. An inspector can find problems that are hard to spot from the ground, such as lifted shingles, cracked seals, and hail bruising.
A written inspection report with photos can support your claim and show the adjuster the scope of the repair needed. See how the repair process works after inspection.
Keep the report with your other claim documents, and share a copy with your insurer as directed by your policy.
Building the Documents for Your Roof Insurance Claim
Your photos and reports are only part of the claim. Gather these documents in one folder:
- Your insurance policy and declarations page
- The claim number and adjuster contact information
- Storm date, time, and weather records
- Dated photos and videos
- Professional inspection or contractor reports
- Repair estimates and invoices
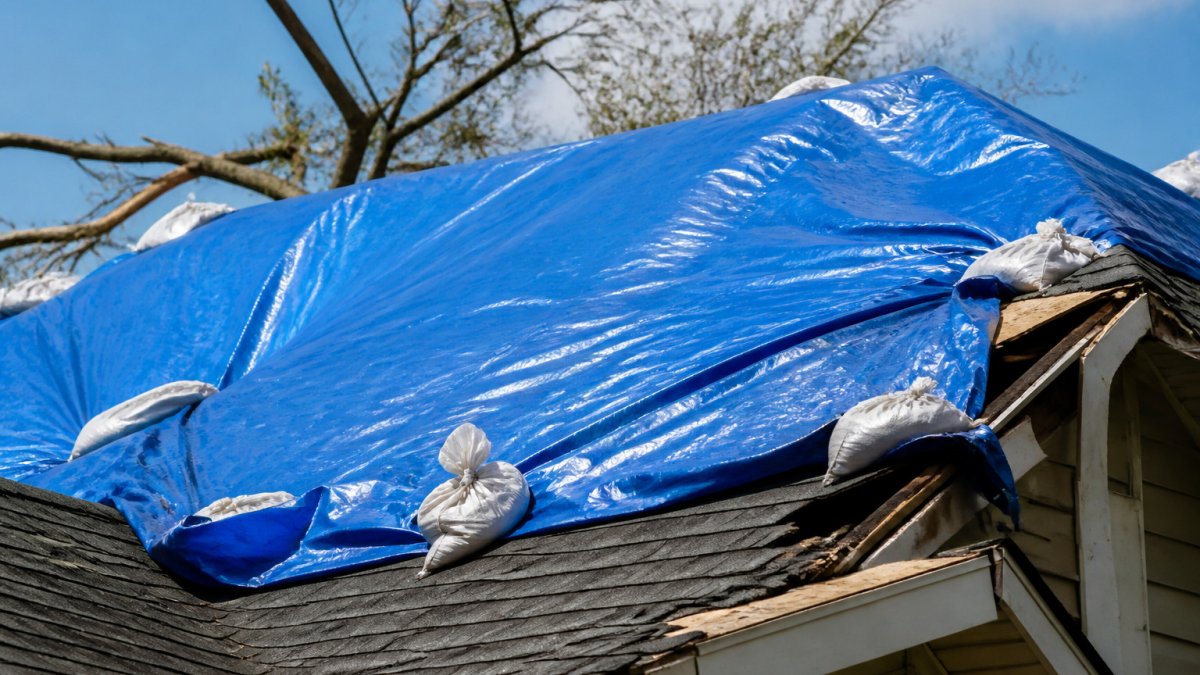
- Receipts for temporary repairs, such as tarps or boards
Save receipts for emergency repairs that prevent further damage. Insurers generally expect you to limit additional harm to your property, so a tarp or temporary board-up is often covered when documented properly.
Check your policy for claim filing deadlines. Deadlines vary by policy and state, so confirm the timeline with your insurer early.
Writing a Roof Damage Report for Insurance That Holds Up
A written damage log ties your photos to a clear story. For each damaged area, write a short entry that includes:
- The location on the roof or property, such as "north slope, near ridge"
- What you see, such as "three missing shingles and exposed underlayment"
- The date and time you took the photo
- The photo file name that matches the entry
Keep the language factual. Avoid guessing about the cause, and let the inspector or adjuster make that call. A clean, dated log makes the claim easier to review.
Separate Storm Damage From Pre-Existing Wear
One of the most common reasons a claim stalls is a dispute over whether the damage came from the storm or from age and maintenance. Build a short condition timeline so the record speaks for itself:
- Note the roof's approximate age and the date of the last professional inspection or repair.
- Attach any pre-storm photos, maintenance receipts, or warranty paperwork you have.
- Describe the pattern you see in plain terms, such as "fresh granule loss concentrated on the west slope" versus "widespread curling and cracking across all slopes."
- Point to the storm evidence, such as hail size or wind speed, without claiming a cause the inspector has not confirmed.
A common pattern is that storm damage is localized and directional, while wear is spread across the roof. Describing that pattern helps the adjuster without overstating the claim.
What to Do When the Insurer Disputes Causation or Scope
If the adjuster says the damage is not storm-related or the scope is too small, respond in writing and keep the paper trail:
- Request the adjuster's report and photos so you can see what was inspected and what was missed.
- Submit supplemental documentation, such as additional dated photos, the professional inspection report, and weather records for the storm date.
- Ask for a second inspection and, if the dispute continues, ask about the appraisal or dispute process described in your policy.
- Keep every communication in one folder, including emails, letters, and notes from phone calls with dates and names.
Watch out: Do not authorize permanent repairs or discard damaged materials before the insurer has had a chance to inspect them, because doing so can weaken your position in a scope dispute.
Watch out: Do not throw away damaged shingles or gutters until the adjuster has seen them. Keep the damaged pieces if you can do so safely, because they may be needed as evidence.
Organize Your Damage File and Schedule Your Next Step With SunPro
Create one digital folder for the entire claim. Name each photo with the date and location, store backups in the cloud, and keep the paper copies in a binder. A well-organized file helps you answer questions quickly and keeps the claim on track.
Once your documents are ready, contact your insurer to open the claim and schedule the adjuster inspection. For guidance on hiring reliable roofing contractors, review the options before you commit. Contact SunPro Contracting LLC to discuss your roof and request a quote.
Frequently Asked Questions
Is roof damage from a storm covered by insurance?
Many standard homeowners policies cover sudden storm damage such as wind, hail and falling debris, but they typically exclude wear, lack of maintenance and gradual deterioration. Coverage depends on your specific policy language, your deductible and any wind or hail limits it contains. Read your declarations page and policy, then document the damage promptly so your claim shows a clear storm cause. If the adjuster finds the damage is older or partly unrelated to the storm, a professional inspection and your pre-storm maintenance records help separate the two.
What photos should you take after a storm damages your roof?
Take photos of every roof slope at three distances: wide shots that show the whole slope and house, mid-range shots of damaged sections, and close-ups of granule loss, hail impacts, lifted shingles or tears. Include the roof edges, ridges, gutters, vents and flashing, and photograph from the ground rather than climbing onto a damaged roof. Shoot the interior too, capturing ceiling stains and water on walls or floors. Keep the original files with their timestamps intact so the dates are verifiable.
Should you get a roof inspection before filing a storm damage claim?
A professional roof inspection is strongly recommended before you file, because a written report from a licensed contractor documents the condition, the damage pattern and the likely storm cause in technical terms an adjuster can evaluate. It also gives you a repair estimate to compare against the insurer's scope. Ask for an itemized report with dated photos. Filing promptly after the storm matters, since delayed reporting can complicate a claim.
What should you avoid saying to an insurance adjuster about roof damage?
Stick to facts you have observed and documented. Avoid guessing about the cause or the age of the damage, estimating repair costs on the spot, or agreeing that damage is minor before a full inspection. Do not sign documents you have not read, and do not authorize repairs that change the evidence before the adjuster sees it, unless you are preventing further damage. Keep a record of every conversation, including the date, the adjuster's name and what was discussed.