 how-to
Storm Damage Roof Repair: Step-by-Step Process
Table of Contents
- Assess Roof Damage After a Storm
- Create a Roof Inspection Checklist After a Storm
- Photograph and Document Damage
- Apply Emergency Roof Tarping Services
- File Your Roof Storm Damage Insurance Claim Process
- Schedule a Professional Roof Repair Assessment
- Complete the Roof Restoration and Repair Work
- Frequently Asked Questions
Last Updated: October 13, 2026
Assess Roof Damage After a Storm
Storm damage roof repair needs can range from barely visible to catastrophic. The first step is understanding what you're looking at and whether it's safe to inspect.
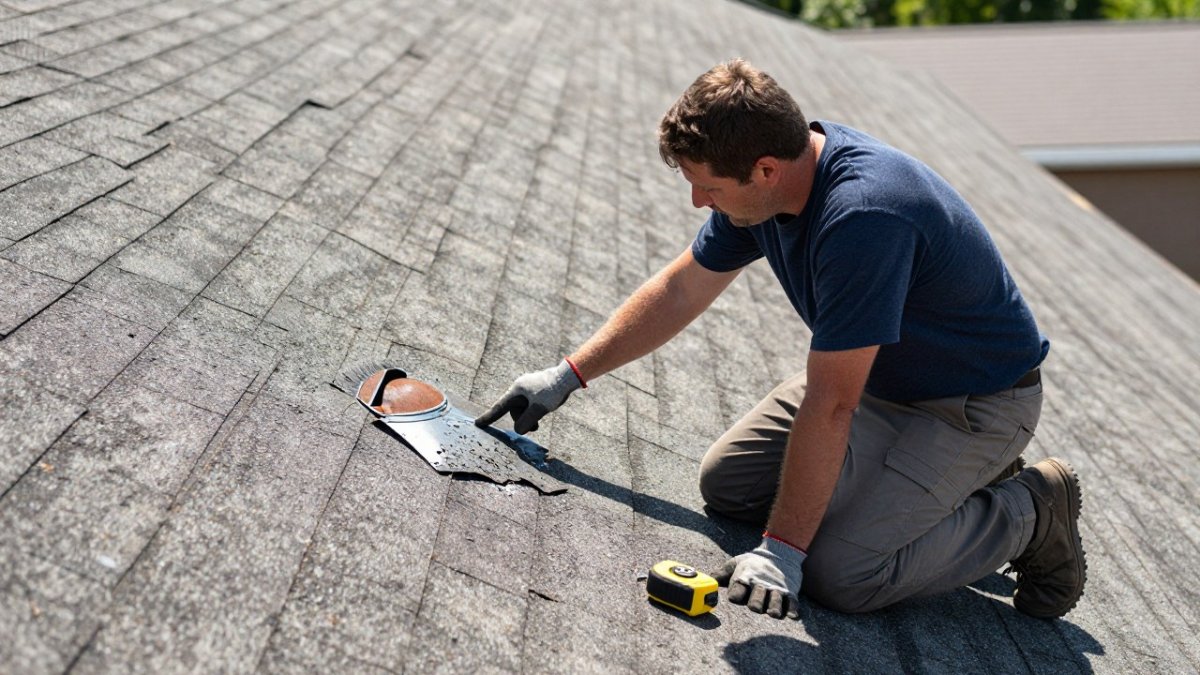
Before you climb onto your roof, know the signs of damage. Missing or damaged shingles are the most obvious. You might also see exposed roof areas, holes in the roof, or shingles that are curled, cracked, or discolored.
Signs of storm damage to look for
Look for these specific issues after severe weather:
- Missing shingles, Completely absent from the roof surface
- Damaged shingles, Cracked, torn, or peeling at the edges
- Exposed wood or underlayment, Visible where shingles should be
- Roof holes or punctures, Openings that let water through
- Granule loss, Shingle material in gutters or on the ground
- Bent or dented metal, On metal roofing or flashing
- Flashing damage, Separation around chimneys, vents, or edges
- Water stains inside, Brown marks on ceilings or attic framing
Safety precautions before inspecting
Never inspect your roof immediately after a storm if conditions are dangerous. Wait until weather clears and the roof is dry. Use a sturdy ladder and have someone spot you from below. Wear non-slip shoes and move carefully on wet surfaces.
If your roof is steeply pitched or you're uncomfortable with heights, skip the roof inspection. Call a professional instead. A roofing contractor has the right equipment and training to inspect safely.
Create a Roof Inspection Checklist After a Storm
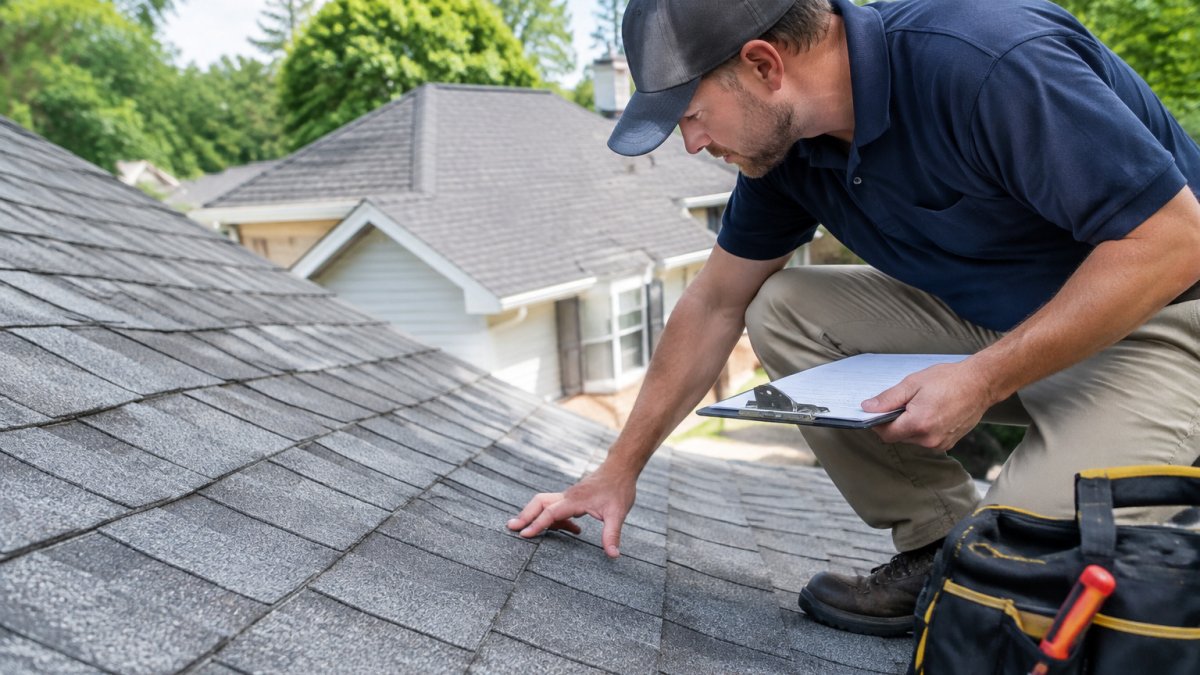
A systematic inspection catches damage you might otherwise miss. Use a checklist to document everything you see. This creates a record for your insurance claim and helps contractors provide accurate estimates.
Start from the ground and work your way up. Look at gutters, downspouts, and the foundation for debris or damage. Move to the roof edges and look for missing shingles or exposed areas. Then check the roof surface methodically, section by section.
What to document during inspection
Your checklist should capture these details:
- Location of damage, Note which side of the roof and which area (peak, slope, edge)
- Type of damage, Describe what you see: missing shingles, holes, dents, etc.
- Extent of damage, Is it isolated or widespread? One area or multiple?
- Visible water entry, Any signs that water has penetrated the roof
- Structural damage, Sagging, warping, or broken framing visible from inside
- Debris on roof, Branches, dirt, or other storm debris
- Gutter and flashing condition, Separated, dented, or clogged gutters
- Date and time of inspection, When you looked and what the weather was like
Write these details down or take notes on your phone. You'll reference this when filing your insurance claim and meeting with contractors.
Photograph and Document Damage
Photos are your strongest evidence for an insurance claim. They show exactly what the storm did and help support your claim for payment.
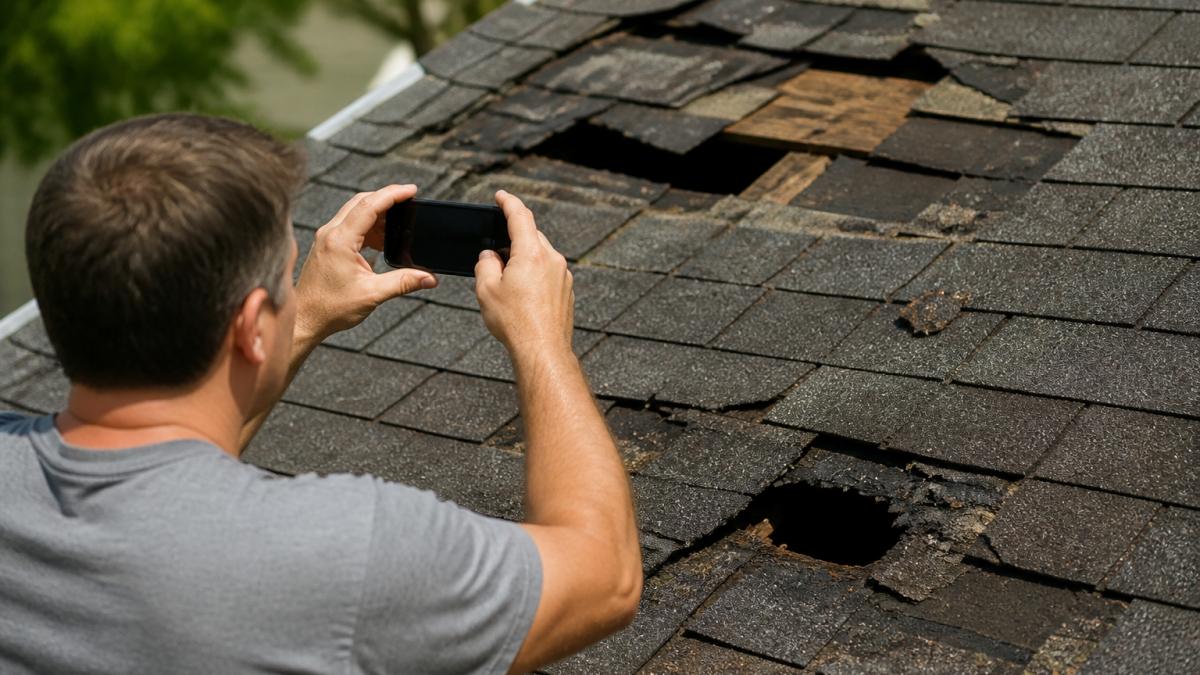
Photograph each damaged area close-up and from a distance. Show the damage in context so adjusters understand the scope. Take photos in good daylight.
Create a photo record that includes:
- Wide shots, Show the overall roof and the damaged area in relation to the whole structure
- Close-ups, Detail of specific damage like missing shingles or roof holes
- Multiple angles, Photos from different directions so damage is clear
- Interior damage, Water stains, wet insulation, or damaged drywall inside
- Date stamp, Photos with visible dates help with claim timelines
- Reference objects, Include a ruler, coin, or other object in close-ups to show scale
Store these photos in a cloud backup immediately. Email copies to yourself. Having multiple copies protects you if your phone is lost or damaged.
Apply Emergency Roof Tarping Services
Water intrusion causes the most expensive damage after a storm. Temporary repairs stop water from entering while you arrange permanent repairs. This is where emergency roof tarping comes in.
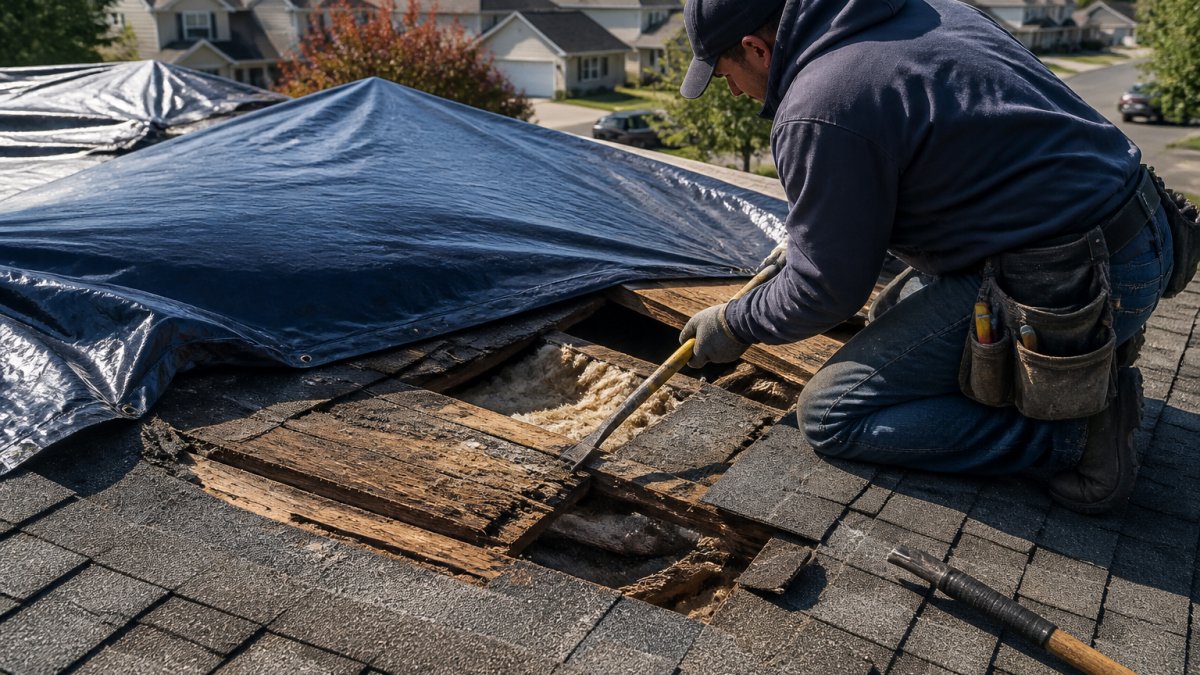
A waterproof tarp covers exposed areas and prevents rain from entering. Roofing tape seals minor leaks temporarily. These measures buy you time to schedule professional repairs without worrying about interior damage.
Temporary measures to prevent water intrusion
If you need to act fast before a contractor arrives, these steps help:
- Clear debris, Remove branches and dirt from the roof and gutters so water can drain
- Cover holes with tarps, Stretch a waterproof tarp over damaged areas and secure it tightly
- Seal minor leaks, Use roofing tape or roof sealant on small cracks or punctures
- Redirect water flow, Make sure gutters and downspouts direct water away from the foundation
- Check the attic, Look for active drips or wet insulation and place buckets to catch water
These are temporary fixes only. They prevent additional damage while you arrange permanent repairs. Call a professional roofing contractor the same day if possible. Professional tarping is more durable and covers more area than DIY efforts.
File Your Roof Storm Damage Insurance Claim Process
Your homeowner's insurance may cover storm damage. The claim process starts with notification and includes documentation, assessment, and approval. Timing matters, many policies have time limits for filing claims.
Contact your insurance company within days of the storm. Provide your policy number and describe the damage. The insurer will assign an adjuster to inspect and estimate repairs.
Understanding deductibles and coverage
Your policy includes specific terms that affect what you receive:
- Deductible, The amount you pay before insurance covers costs (typically $500 to $2,500)
- Coverage limits, Maximum the insurer will pay for roof damage
- Depreciation, Older roofs may be paid at reduced value, not replacement cost
- Exclusions, Some policies exclude certain types of damage or require separate coverage
Review your policy before filing. Know your deductible and coverage limits. Ask your agent about any exclusions that might apply. This prevents surprises later.
Claim timeline and what to expect
The claim process typically follows this timeline:
- Day 1-3, Report damage to your insurer
- Day 3-7, Adjuster schedules inspection
- Day 7-14, Adjuster inspects and estimates repairs
- Day 14-30, Insurer approves claim and sends payment or denial
- After approval, You hire contractor and begin repairs
Don't delay reporting. Some policies require notification within 30 days. The sooner you file, the sooner you get paid and can begin repairs. Keep all documentation: photos, repair estimates, receipts, and correspondence with your insurer.
Schedule a Professional Roof Repair Assessment
Professional assessment determines whether your roof needs repair or replacement. A qualified contractor inspects the damage, identifies all issues, and provides a detailed estimate. This assessment guides your repair decisions and supports your insurance claim.
Schedule the assessment within a few days of the storm. Many contractors offer emergency inspections. Bring your documentation, photos, inspection notes, and insurance information, to the assessment.
Choosing a qualified roofing contractor
Look for these qualities in a contractor:
- Licensed and insured, Verify current licensing with your state
- Experience with storm damage, Contractors familiar with insurance claims move faster
- References and reviews, Check past customer feedback and completed projects
- Detailed estimates, Written quotes that itemize materials and labor
- Warranty on work, At least 5 years on labor; materials usually have manufacturer warranties
- Established local presence, Long-term businesses are more reliable than storm chasers
Avoid contractors who pressure you to decide immediately or demand upfront payment. Get at least two estimates. Compare scope of work, not just price. The cheapest estimate often means corners are being cut.
SunPro Contracting LLC has over 100 years of combined industry experience handling storm damage repairs. We work directly with insurance adjusters and handle all documentation.
What to expect during the repair estimate
The contractor will:
- Inspect all damage, Look at the entire roof, not just visible damage
- Check interior, Examine attic and ceilings for water damage or mold
- Identify needed repairs, List specific shingles, flashing, or structural work
- Provide written estimate, Detailed breakdown of materials and labor costs
- Discuss timeline, When work starts and how long it takes
- Explain warranty, Coverage on materials and workmanship
- Answer questions, Clarify anything you don't understand
A thorough estimate takes 30 to 60 minutes. Don't rush this step. The estimate becomes your repair contract, so accuracy matters.
Complete the Roof Restoration and Repair Work
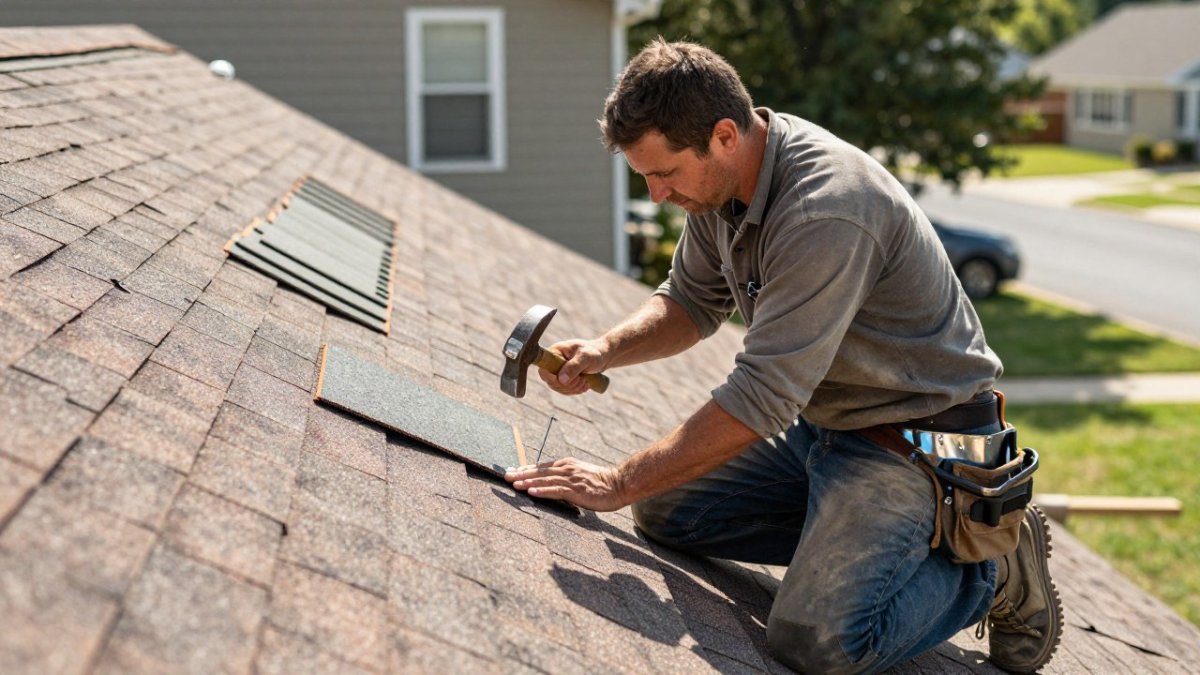
Once your insurance approves the claim and you've hired a contractor, repairs begin. The repair process includes removing damaged materials, making structural repairs, and installing new roofing. Quality work protects your home for years.
The contractor coordinates with your insurance company and manages the repair timeline. You should receive updates on progress. Inspections happen at key stages to verify work meets standards.
Repair versus replacement decision
Sometimes damage is so extensive that replacement makes more sense than repair. Your contractor helps you decide:
- Repair if, Damage is isolated to one area, roof is relatively new, and repair cost is less than 30% of replacement cost
- Replace if, Damage is widespread, roof is near the end of its lifespan, or multiple repairs are needed within a short time
- Consider replacement if, Your roof is over 15 years old and storm damage occurs; you'll likely face more issues soon
Replacement is more expensive upfront but costs less over time if your roof is aging. Repair is faster and cheaper for isolated damage. Your contractor and insurance adjuster can advise which option makes sense for your situation.
Quality assurance and final inspection
Before paying the contractor, verify the work meets standards:
- Visual inspection, Check that new shingles are properly aligned and secured
- Flashing sealed, All roof penetrations have watertight seals
- Gutters clear, Gutters are clean and properly attached
- No debris, Roof is clean and free of nails or debris
- Interior check, No water stains or damage inside the home
- Documentation, Get warranty paperwork and receipts for materials
Walk the roof with the contractor if you're comfortable doing so. Ask questions about anything that doesn't look right. Don't approve final payment until you're satisfied with the work.
Storm damage to your roof demands quick action to prevent water intrusion and protect your home's interior. SunPro Contracting LLC specializes in storm damage roof repair and works with insurance companies to simplify the process.
| Step | Timeline | Key Action |
|---|---|---|
| Assess damage | Day 1-2 | Document with photos and notes |
| File claim | Day 1-3 | Contact insurance company |
| Get estimates | Day 3-7 | Schedule contractor assessments |
| Insurance approval | Day 7-30 | Wait for adjuster approval |
| Repairs begin | Day 30+ | Contractor starts work |
| Final inspection | After repairs | Verify quality before final payment |
Frequently Asked Questions
What should I do immediately after a storm damages my roof?
First, ensure your safety by staying off the roof and away from debris. Document visible damage with photos from ground level. Call your homeowner's insurance company to report the damage and ask about the claim process. For emergency leaks, use waterproof tarps or roofing tape to cover exposed areas temporarily. Contact a professional roofing contractor for a damage assessment within 24-48 hours to prevent further water intrusion and mold growth.
How do I document roof damage for an insurance claim?
Take clear photos and videos of all visible damage from multiple angles, including missing shingles, roof holes, and exposed areas. Document interior water damage and any items affected. Create a written list of damaged areas with descriptions. Keep all receipts for temporary repairs. Contact your insurance company promptly with this documentation to start the roof storm damage insurance claim process. An adjuster will schedule an inspection to assess the damage and determine coverage.
Can I use a tarp to temporarily fix a roof leak after a storm?
Yes, emergency roof tarping services are an effective temporary solution. Waterproof tarps secured over damaged areas prevent water intrusion while you arrange professional repairs. Use roofing tape or sealant to seal edges and prevent wind damage. However, tarps are temporary measures only and should not replace permanent roof repair. Schedule professional roof restoration as soon as possible, especially before heavy rain or additional storms.
How long does the storm damage roof repair process typically take?
The timeline varies by damage severity and weather conditions. Initial assessment and temporary repairs take 1-2 days. Insurance claim processing typically takes 5-14 days. Once approved, scheduling depends on contractor availability and weather. Simple repairs may take 1-3 days, while extensive restoration or roof replacement can take 1-2 weeks. Weather delays and material availability can extend timelines. Your roofing contractor will provide a specific schedule after the damage assessment.