 how-to
Why Exterior Paint Peels Quickly: Prevention & Repair
Table of Contents
- Why Exterior Paint Peels Quickly
- How to Fix Peeling Exterior Paint
- Surface Preparation for Exterior Painting
- How to Calculate Exterior Paint Coverage for Brick Homes
- Preventing Paint Peeling: Best Practices
- Common Mistakes to Avoid
- Frequently Asked Questions
Last Updated: September 27, 2026
Why Exterior Paint Peels Quickly
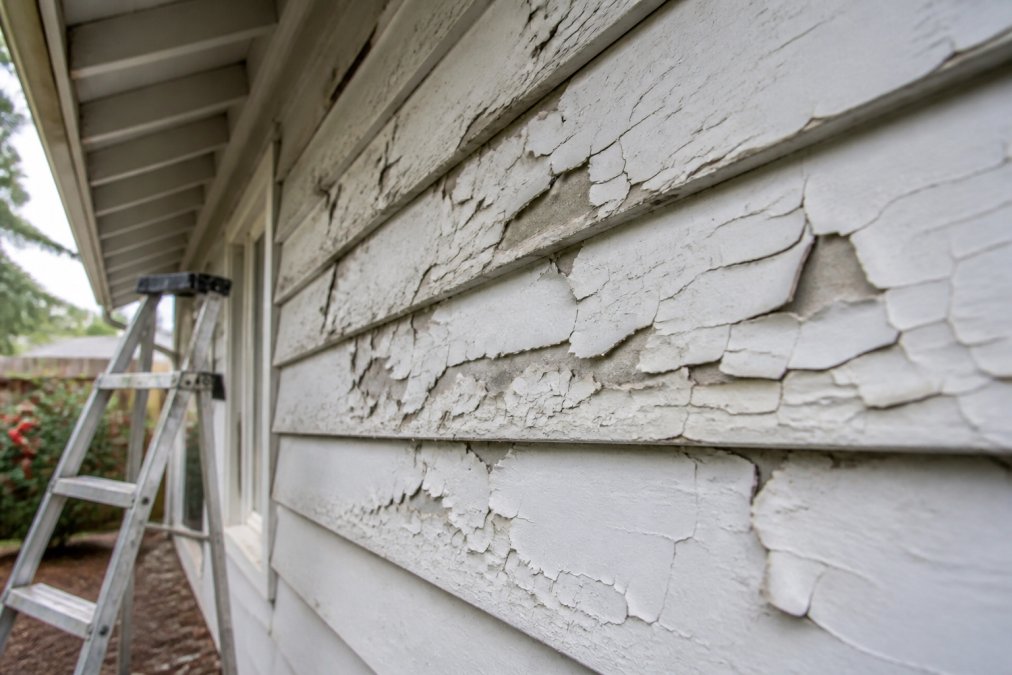
Exterior paint peels primarily due to moisture. When water gets behind the paint film, it pushes the coating away from the substrate faster than most homeowners expect.
Understanding why peeling occurs helps you prevent it. The pattern is consistent: inadequate surface preparation or uncontrolled application conditions.
Peeling paint exposes siding or trim to water damage, leading to wood rot and masonry deterioration. What starts as cosmetic becomes structural.
The good news: most peeling is preventable. It comes down to three factors: moisture control, surface preparation, and choosing the right paint and primer for your climate.
Moisture and Water Penetration
Moisture is the #1 cause of paint failure. Water vapor moves through walls constantly. When it reaches the paint layer, pressure builds underneath. The paint film can't hold it back. Blistering and peeling follow.
Moisture reaches paint in two ways: it soaks the substrate before painting (wood absorbs moisture like a sponge; masonry holds water in pores), or it enters from outside through cracks in caulk or gaps in trim. Over time, hydrostatic pressure builds behind the paint and the film fails.
Vapor pressure, the force water vapor exerts, causes exterior paint peels when it exceeds the paint's adhesion strength. Exterior surfaces face constant moisture exposure, making them more vulnerable than interior paint.
Check moisture levels before painting with a moisture meter (under $30). Wood should read below 15%; masonry below 12%. If higher, allow the substrate to dry first.
UV Degradation and Sunlight Exposure
UV rays degrade paint binders, causing chalking, a fine powder visible when you rub the paint. This indicates pigment separating from the binder as adhesion fails.
South and west-facing walls receive the most intense sun and peel 2-3 years faster than north-facing walls. Hot, sunny climates accelerate UV degradation.
Premium exterior paints have UV-resistant binders and last longer than budget paints, saving money on repainting in high-sun areas.
Paint Type Incompatibility
Mixing latex and oil-based paints causes peeling. Oil-based primer under latex topcoat works fine. But latex primer under oil-based topcoat fails. The paint types don't bond well together.
This is a common mistake. A previous contractor used oil-based paint. You hire someone new who applies latex. Within months, peeling starts. The two coatings can't form a strong adhesion.
Check what's already on your home. Scrape a test spot. Latex paint is water-based and softer. Oil-based paint is harder and glossier. If you're unsure, use a primer that bonds to both types. Or stick with the existing paint type for consistency.
Poor Application Conditions
Paint needs the right conditions to cure properly. Temperature and humidity matter enormously.
Cold weather prevents full curing and weakens adhesion. High humidity interferes with curing, leaving paint soft underneath and prone to peeling.
Best conditions: 50-85°F and 40-70% relative humidity. Paint in early morning or late afternoon. Avoid direct sun while the paint is wet. Never paint in rain or when rain is forecast within 24 hours.
Contractors who rush and paint in poor conditions to meet deadlines cause premature peeling. Choose contractors who prioritize quality over speed.
How to Fix Peeling Exterior Paint
Fixing peeling paint means removing the loose coating and starting fresh. It's labor-intensive but straightforward.
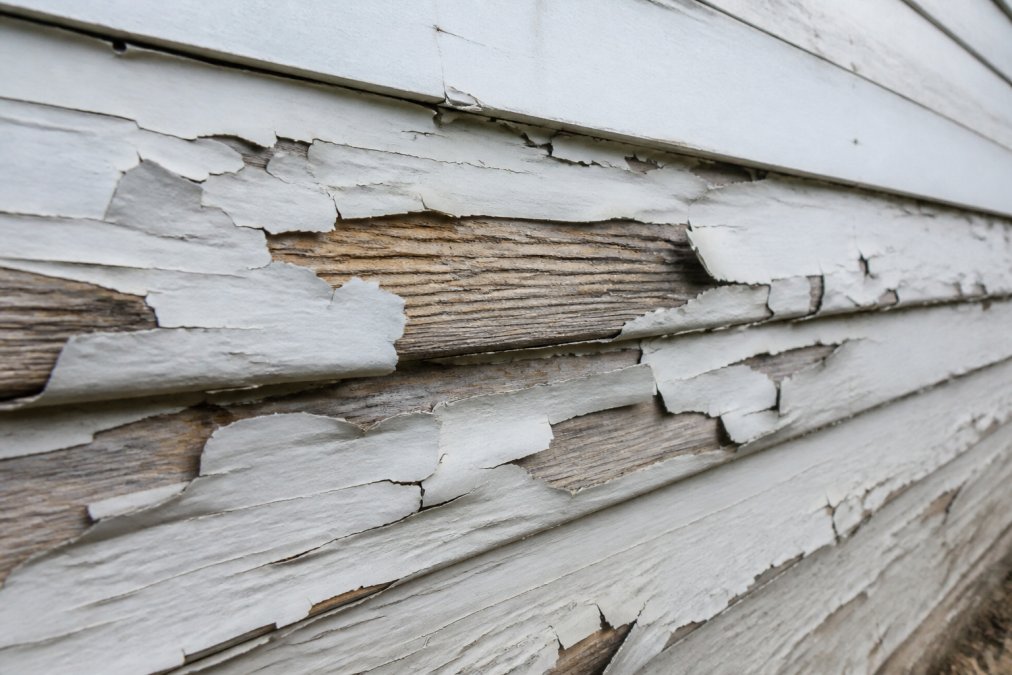
Step 1: Assess the Damage
Peel back loose edges to assess removal needs. Scrape only loose sections if paint is firmly attached; strip more aggressively if large areas are unstable.
Look for soft wood (rot) or crumbling masonry (structural damage). Fix these before repainting or new paint will peel quickly.
Check substrate moisture with a meter: wood should read 12-15% or lower; masonry 12% or less. Delay painting if moisture is high.
Step 2: Remove Loose Paint
Scrape away all loose paint methodically with a scraper or wire brush. For larger areas, use a pressure washer at 1500-2000 PSI (test on a hidden area first to avoid damage).
Sand edges where old paint meets bare substrate to feather the transition, preventing water-trapping ridges and improving primer adhesion.
Step 3: Repair the Substrate
Fill holes with exterior-grade wood filler and sand smooth. Caulk gaps and cracks with paintable exterior caulk in a continuous bead to prevent water seepage.
Remove rotted wood and replace with treated lumber matching the original. Patching only delays failure.
On masonry, fill cracks with concrete caulk or masonry patching compound. These products expand and contract with temperature changes. Regular caulk cracks under thermal stress.
Step 4: Apply Primer and Topcoat
Prime all bare substrate with a bonding primer designed for exterior use. Bonding primers grip difficult surfaces and seal porous substrates, preventing uneven topcoat absorption.
Choose primer based on substrate: oil-based or acrylic latex for wood; masonry-specific for masonry.
Apply topcoat after primer cures (usually 24 hours minimum). Use high-quality exterior paint. Apply two topcoats for better coverage and durability.
Surface Preparation for Exterior Painting
Surface preparation determines whether paint lasts five years or fifteen. It's the most critical step most homeowners skip.
Cleaning and Inspection
Pressure wash at 1500-2000 PSI to remove dirt, mold, and algae. Inspect for soft wood (press with a screwdriver) and mark rotted areas for repair.
Kill mold with mildew cleaner before painting; paint over mold allows it to grow underneath. Recaulk cracks in caulk or sealant to prevent water penetration.
Sanding and Scraping
Sand glossy surfaces with 120-150 grit sandpaper to dull them and create adhesion profile. Scrape loose paint but avoid aggressive sanding over solid paint.
For heavy buildup, use chemical strippers following safety instructions carefully with gloves, eye protection, and good ventilation.
Caulking and Sealing
Caulk all gaps and joints (trim-to-siding, window frames, door frames, corners) with paintable exterior caulk rated for your climate. Apply in a continuous bead, smooth with a wet finger, and let cure 24-48 hours before painting.
How to Calculate Exterior Paint Coverage for Brick Homes
Brick homes need different calculations than wood-sided homes. Brick is porous and textured. It absorbs more paint.
Start with square footage. Measure wall height and width. Multiply to get area. Subtract window and door openings. The result is your paintable surface area.
Brick typically needs 300-350 square feet per gallon. Compare this to wood siding, which covers 350-400 square feet per gallon. The difference is texture and porosity.
Add 10% to your estimate for waste and overlap. It's better to have extra paint than to run short mid-project.
For a 2,000 square foot brick home with 1,500 square feet of paintable wall area: divide 1,500 by 325 (average coverage). You need approximately 4.6 gallons.
Preventing Paint Peeling: Best Practices
Prevention is cheaper than repair. These practices keep paint adhered longer.
Monitor Moisture Levels
Check moisture before painting. Use a moisture meter. Test wood at multiple locations. Average the readings. If any reading exceeds 15%, wait for drier conditions.
Choose the Right Paint and Primer
Invest in quality. Premium exterior paints resist UV better and last longer. They cost more upfront but save money over time through fewer repaintings.
Paint in Optimal Conditions
Plan painting for spring or fall. Temperatures are moderate. Humidity is usually reasonable. Avoid summer heat and winter cold.
Common Mistakes to Avoid
| Prevention Method | Action | Benefit |
|---|---|---|
| Moisture control | Check levels before painting, maintain gutters | Prevents water-driven peeling |
| Quality materials | Use premium exterior paint and bonding primer | Extends paint life 5-10 years |
| Proper conditions | Paint at 50-85°F, 40-70% humidity | Ensures full curing and adhesion |
| Surface prep | Clean, sand, caulk, and prime all surfaces | Eliminates adhesion failure points |
| Substrate repair | Replace rotted wood, patch masonry | Prevents structural damage under paint |
According to the Environmental Protection Agency's guidance on moisture control in buildings, controlling interior humidity between 30-50% prevents moisture-driven paint failure and structural damage.
Frequently Asked Questions
Why is my outside paint peeling off?
Exterior paint peels due to moisture trapped behind the paint film, poor surface preparation, incompatible paint types, or UV degradation. Moisture is the primary culprit, it creates hydrostatic pressure that breaks the adhesion between paint and substrate. Inadequate primer, painting in humid conditions, or applying latex paint over oil-based surfaces also cause peeling. Identifying the root cause determines whether you need moisture control, better prep work, or primer compatibility changes.
How can I prevent exterior paint from peeling in the future?
Start with thorough surface preparation: scrape off loose paint, sand the substrate smooth, and seal cracks with caulking. Use a bonding primer suited to your substrate type, and apply paint only when temperature is between 50-85°F and humidity is below 85%. Monitor moisture levels with a moisture meter before painting wood siding. Choose high-quality exterior paint rated for your climate, and maintain caulking and sealing annually to prevent water infiltration that causes future peeling.
Can you paint over peeling paint outside?
No, painting over peeling paint will fail quickly. You must remove all loose, flaking, and chalking paint first by scraping and sanding. If you paint over unstable surfaces, the new paint will fail to adhere and peel within months. Proper substrate preparation is the foundation of paint adhesion. After removal, inspect for moisture damage, apply primer, and then topcoat. Skipping this step is the most common reason homeowners experience repeat peeling within a year.
How do I properly prepare a surface to avoid paint failure?
Surface preparation involves cleaning, inspection, sanding, and sealing. Wash the surface to remove dirt and mildew, then inspect for damage or moisture. Sand glossy surfaces to improve adhesion, and scrape away all loose paint. Caulk gaps and cracks to prevent water infiltration. Apply a bonding primer appropriate for your substrate, wood needs different primer than masonry. Ensure the surface is dry (moisture meter reading below 16% for wood) before priming. This multi-step process prevents adhesion failure and blistering.