 how-to
How to Properly Patch Masonry: Step-by-Step Guide
Table of Contents
- Tools and Materials Required for Masonry Patching
- Safety Precautions and Protective Gear
- How to Properly Patch Masonry: Preparation Steps
- How to Seal Masonry Cracks Before Painting Exterior Walls
- Mixing and Applying the Patching Material
- Tooling the Joint for a Professional Finish
- Curing Time for Masonry Patches and Weather Considerations
- Common Mistakes to Avoid When Patching Masonry
- Frequently Asked Questions
Last Updated: September 21, 2026
Tools and Materials Required for Masonry Patching
Gather a cold chisel, pointing trowel, mortar hawk, wire brush, and masonry saw. Wear dust masks, safety glasses, and work gloves.
You'll need mortar or patching compound, sand, water, and possibly a bonding agent. Have pigment on hand if color matching is needed.
Use a pointing trowel to apply material and a jointing tool to finish. A bucket for mixing and spray bottle for wetting complete your kit.
Safety Precautions and Protective Gear
Masonry dust contains silica particles that damage lungs. Always wear a dust mask rated for fine particles, safety glasses, and work gloves.
Use a respirator for heavy work or enclosed spaces; a dust mask alone is insufficient.
Never work at heights without fall protection. Use proper scaffolding or ladders with safety features.
How to Properly Patch Masonry: Preparation Steps
Preparation determines success. Remove all loose material, clean the joint, and wet the surface before applying new mortar.
Removing Damaged Mortar and Cleaning the Joint
Use a cold chisel and hammer to remove deteriorated mortar carefully, avoiding damage to surrounding bricks or stones. The joint must be clean and free of dust and debris.
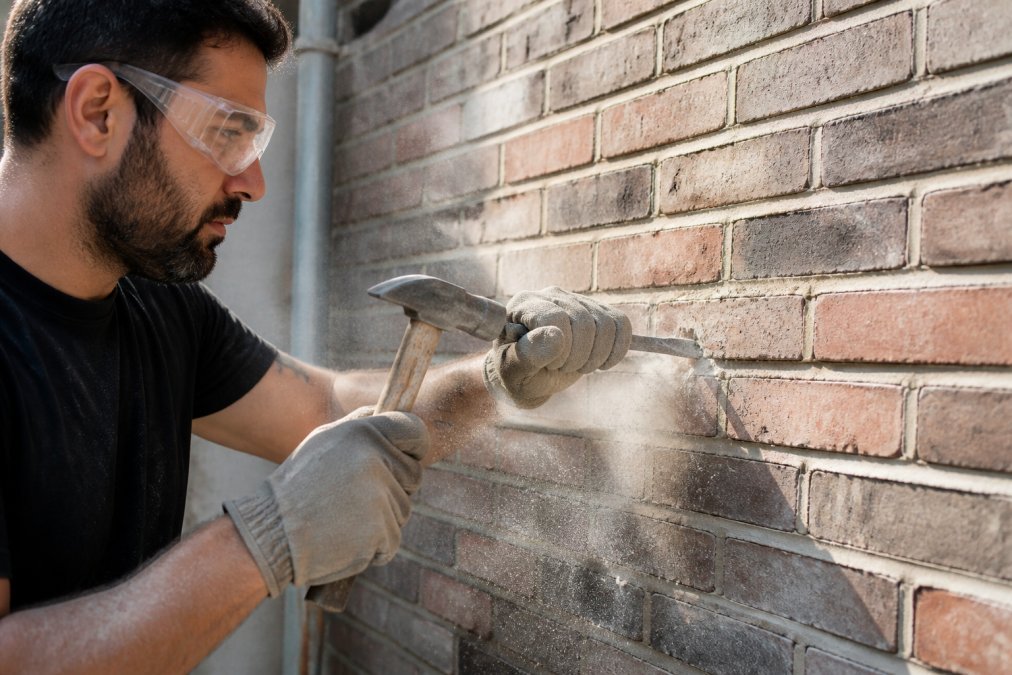
Remove mortar to a depth of at least two and a half times the joint width for proper bonding. Use a wire brush to clean away remaining dust and loose material.
Wetting the Masonry Surface
Spray the joint and surrounding masonry with water until damp, not saturated, as standing water causes problems.
The surface should feel moist but not wet. A spray bottle gives you control over water application.
How to Seal Masonry Cracks Before Painting Exterior Walls
Cracks allow water inside. Seal cracks before painting to prevent moisture penetration and structural damage.
Hairline cracks under one-eighth inch wide can be sealed with caulk or thin patching compound. Larger cracks require the full patching process.
Seal cracks before painting. Unsealed cracks allow water behind the paint, causing peeling and spalling.
Mixing and Applying the Patching Material
Choosing the correct mortar type is critical; using the wrong type is a leading cause of patch failure within 6-12 months.
Understanding Mortar Type Compatibility
Mortar comes in four main types: N, O, S, and M. Using a type that doesn't match your existing masonry causes cracking and spalling.
Type O mortar (1 part cement : 2-2.5 parts lime : 8-9 parts sand) has low compressive strength (350 psi) and high flexibility. It's used in interior walls, non-load-bearing walls, and historic masonry where flexibility is essential. If your existing mortar is soft and crumbly, Type O is likely correct.
Type N mortar (1 part cement : 1 part lime : 6 parts sand) offers moderate strength (750 psi) and flexibility. It's the most common choice for residential exterior masonry, chimneys, and general repairs. If you're unsure what type you have, Type N is the safest default for most homes.
Type S mortar (1 part cement : 0.5 part lime : 4.5 parts sand) has high compressive strength (1,800 psi) and lower flexibility. It's used in load-bearing walls, below-grade masonry, and areas exposed to high wind or seismic stress. Using Type S where Type N is correct creates a patch that's too rigid and can cause surrounding mortar to fail.
Type M mortar (1 part cement : 0.25 part lime : 3 parts sand) has the highest compressive strength (2,500 psi) and minimal flexibility. It's reserved for heavy-load applications, underground masonry, and industrial structures. Residential patching almost never requires Type M.
Soft, crumbly mortar is Type O. Mortar that resists scratching but yields is Type N. Hard mortar is Type S or M.
Mixing the Mortar
Follow the manufacturer's instructions precisely. Pre-mixed products ensure consistency but cost 20-40% more than mixing from scratch.
Measure by volume. For Type N: 1 part Portland cement : 1 part hydrated lime : 6 parts sand. For Type O: 1 part Portland cement : 2-2.5 parts hydrated lime : 8-9 parts sand.
Add water slowly until the mortar reaches a stiff, workable consistency. A slump test confirms readiness: it should slump slightly (about 1-2 inches) but retain its form.
Mix only what you can use in 30 minutes. Remixing with additional water weakens the final patch.
Applying the Material
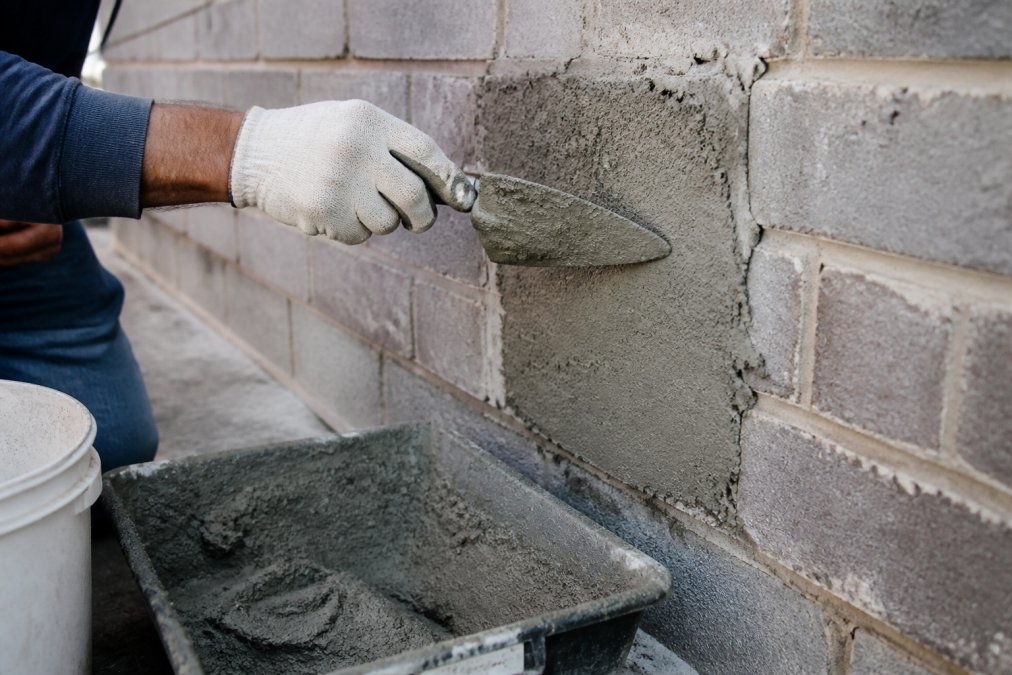
Use a pointing trowel to press mortar firmly into the joint from bottom upward. Fill completely, overfilling slightly (about 1/8 inch) to account for shrinkage.
Press with deliberate, firm strokes. Insufficient pressure leaves voids that weaken the patch and allow water penetration.
Work in sections of 3-4 square feet at a time to tool joints at optimal time (when mortar reaches thumbprint firmness, typically 30-60 minutes after application).
Tooling the Joint for a Professional Finish
A concave joint is the most weather-resistant finish profile, sloping inward to direct water away from the masonry surface.
Tool the joint when mortar reaches thumbprint firmness (usually 30 minutes to an hour after application). Too early and you smear it; too late and it won't shape.
Use a jointing tool matching your existing joints. Press firmly along the entire joint to compress the material and create a weather-resistant seal.
Curing Time for Masonry Patches and Weather Considerations
Proper curing is where most DIY patches fail. The mortar must hydrate fully under specific temperature and humidity conditions.
Temperature Requirements During Curing
Temperature is the primary factor controlling mortar hydration speed. The reaction slows dramatically in cold conditions.
Above 70°F (21°C): Mortar cures at optimal speed. Initial set (when the mortar becomes firm but not fully hardened) occurs in 24-48 hours. Full strength develops in 28 days. This is the ideal window for patching work.
50-70°F (10-21°C): Curing slows significantly. Initial set may take 3-5 days. Full strength development extends to 35-42 days. Avoid patching if temperatures are expected to drop below 50°F within 7 days of application.
40-50°F (4-10°C): Curing becomes very slow. Initial set may take 7-10 days or longer. The mortar remains vulnerable to water damage and freeze-thaw cycles. Do not patch in these conditions unless you use a cold-weather mortar formulation (which contains accelerators and requires special handling).
Below 40°F (4°C): Standard mortar should not be applied. The hydration reaction nearly stops, and any water in the mortar can freeze, causing expansion and cracking. If freezing temperatures occur within 7 days of patching, the patch will likely fail. Wait for warmer weather.
Above 90°F (32°C): Rapid evaporation dries the surface too fast while the interior remains soft. Mist the patched area lightly every 2-4 hours for the first 24 hours.
Humidity and Moisture Control
Mortar requires moisture to cure properly, but standing water or saturation causes efflorescence and spalling.
Ideal humidity range: 40-70% relative humidity. This allows gradual, even hydration without excessive evaporation or moisture trapping.
Very dry conditions (below 30% humidity): Mist the patched area lightly 2-3 times daily for the first 3 days to slow surface evaporation.
High humidity or rain: Do not apply patches if rain is forecast within 48 hours.
Curing Timeline and Protection
First 24 hours: Keep the area dry. Do not allow foot traffic, water spray, or vibration. Cover immediately if rain occurs.
Why Patches Fail After Curing
Improper bonding: If the substrate wasn't cleaned or wetted properly, the patch sits loosely and falls out under thermal stress or water pressure.
Common Mistakes to Avoid When Patching Masonry
The biggest mistake is rushing preparation. Skipping the cleaning step or wetting the surface leads to failed patches. The new material won't bond properly to a dry or dirty surface. This is why so many DIY attempts fail within months.
Frequently Asked Questions
What tools are needed for masonry crack repair?
Essential masonry crack repair tools include a cold chisel, hammer, pointing trowel, mortar hawk, wire brush, and dust extraction equipment. A masonry saw helps with deeper cracks. Safety gear, dust mask, safety glasses, and work gloves, is mandatory. For larger patches, a slump test kit helps verify mortar consistency. These tools ensure proper removal of damaged material and professional application of the patch.
How long is the curing time for masonry patches?
Curing time for masonry patches typically ranges from 24 to 72 hours, depending on mortar type and weather conditions. Most patches reach initial set within 24 hours but require full curing for structural integrity. Avoid exposing patches to rain or freezing temperatures during this period. Temperature and humidity affect hydration rates, cooler, drier conditions slow curing. Allow at least 7 days before painting over patched areas to ensure complete moisture release.
Will new mortar stick to old mortar?
New mortar bonds best when old mortar is completely removed and the joint is clean. Loose or deteriorated old mortar prevents proper bonding and causes patch failure. Remove old mortar to a depth of 2.5 times the joint width for optimal adhesion. A properly cleaned, dampened masonry substrate and compatible mortar type ensure strong bonding. Poor bonding is one of the most common reasons patches fail within months.
How do I color-match mortar when patching masonry?
Color-match mortar by obtaining a sample of the original mortar and testing pigment additions before applying the full patch. Sand color, cement type, and pigment proportions all affect the final color. Mix a small batch and apply it to an inconspicuous area to verify the match. Factors like weathering, efflorescence, and aging affect how closely new mortar blends with existing joints. Professional color matching prevents visible patches that compromise your home's appearance.