 how-to
How to Fix Recurring Roof Leaks: A Step-by-Step Guide
Table of Contents
- How to Find the Source of a Roof Leak
- Signs You Need Roof Repair
- Step-by-Step Repair Process for Recurring Roof Leaks
- Long-Term Structural Damage Assessment
- DIY vs. Professional Roof Leak Repair
- Cost of Professional Roof Leak Repair
- Insurance Claim Documentation for Roof Damage
- Preventing Future Roof Leaks
- Frequently Asked Questions
Last Updated: September 25, 2026
How to Find the Source of a Roof Leak
Finding the source of a roof leak is the critical first step to fix recurring roof leaks. Water travels downward and sideways before it drips into your home, so the spot where you see water damage is often far from where the leak actually starts.
Start by looking for obvious signs. Check for missing or damaged shingles, cracked flashing around chimneys and vents, and gaps where roof penetrations meet the surface. These are the most common culprits behind recurring leaks.
Inspecting from Inside Your Attic
Go into your attic on a clear day with a flashlight and look for water stains, mold, or wet insulation. Follow the stain upward and outward to trace the leak path back to its source on the roof exterior.
Pay attention to the roof decking. Dark spots or soft areas indicate long-term moisture damage. Mark the location with tape or chalk so you can find it again from the roof.
Check around roof penetrations inside the attic, vents, pipes, and electrical conduits are common leak points. Look for water trails running down framing members.
Checking the Roof Exterior
Once you've identified the general area from inside, go to the roof exterior and inspect it. The leak source is typically uphill from where you found water damage inside.
Examine the roof flashing closely. Flashing is metal or rubber material that seals joints and penetrations. Run your hand along the edges to feel for gaps, rust, or separation from the roof surface.
Check roof vents and vent boots for cracks, splits, or areas where the boot has pulled away from the roof. Water often enters around these components because they move and flex more than the surrounding roof.
Signs You Need Roof Repair
Ignoring warning signs leads to recurring leaks and costly structural damage inside your home.
Water stains on ceilings or walls are the clearest sign. Address them immediately to prevent mold and rot.
Visible damage to shingles, flashing, or the roof surface, missing shingles, curled edges, bald spots, and visible rust, all require attention as these areas let water in.
Sagging roof sections or soft spots indicate structural damage and need professional assessment.
Moss or algae growth traps moisture and can lead to leaks. Cleaning and treating the roof prevents this issue.
Step-by-Step Repair Process for Recurring Roof Leaks
To fix recurring roof leaks, you must address multiple problem areas because the original repair often didn't address the root cause. Follow these steps systematically to ensure the leak doesn't return.
Step 1: Stop the Immediate Water Damage
Before permanent repairs, stop water from entering your home with emergency containment.
Place buckets under active drips and move furniture away from the damage area. Use a wet vacuum to remove pooling water and prevent mold growth.
From the attic, place tarps or plastic sheeting under the leak area and secure with tape or fasteners.
On the roof, if weather is clear and safe, place a temporary tarp over the damaged area and secure it with nails or weights. Never work on a wet or slippery roof.
Step 2: Inspect Roof Flashing and Seals
Flashing is where most recurring leaks happen. The metal or rubber seal around chimneys, vents, skylights, and roof valleys fails over time.
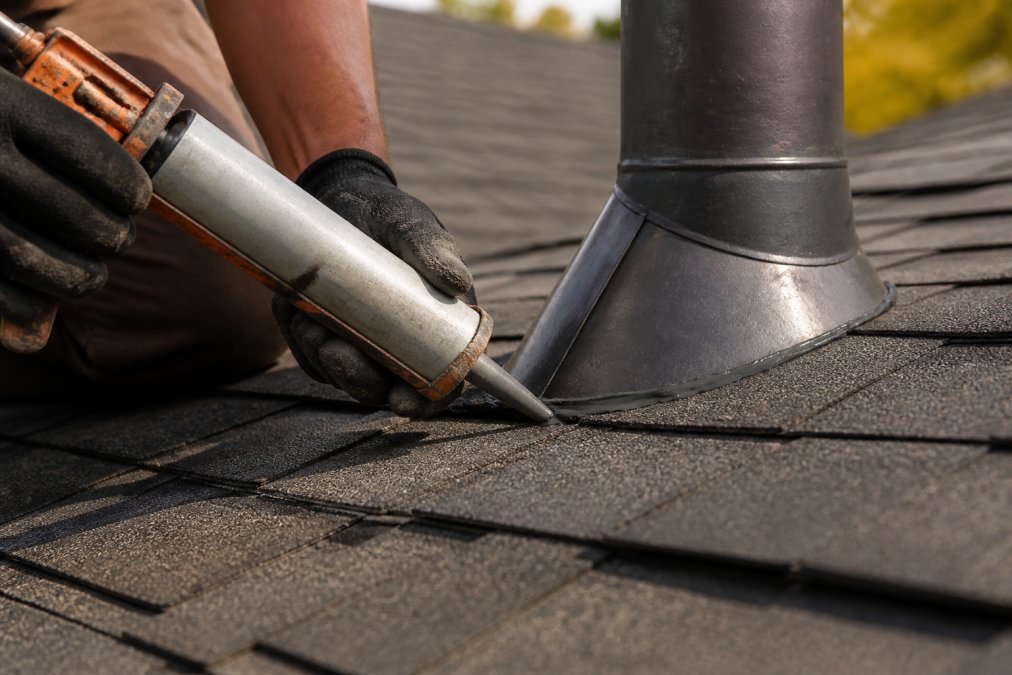
Remove old caulk or sealant around the flashing using a caulk removal tool or putty knife. Clean the area thoroughly so new sealant bonds properly.
Inspect the flashing for rust, corrosion, bent edges, or separation. If damaged, it needs replacement, not just resealing.
Apply new roof sealant or roofing cement around the flashing edges with a caulking gun. Smooth it with a wet finger to ensure good contact and allow it to cure per manufacturer instructions.
Step 3: Check Roof Vents and Vent Boots
The rubber or metal boot that seals around each roof vent is a common leak point. These boots crack, shrink, and pull away from the roof as they age.
Inspect each vent boot for cracks, splits, or dry rot. If it's hard and inflexible, it's failing.
If the seal is broken, apply roofing cement around the base. If the boot is damaged, remove fasteners, lift it away, install a new boot of the same size, and secure it with roofing nails and roofing cement.
Check that vents are not clogged. Debris and ice can block airflow and trap moisture. Clean vents regularly to maintain proper ventilation.
Step 4: Repair or Replace Damaged Shingles
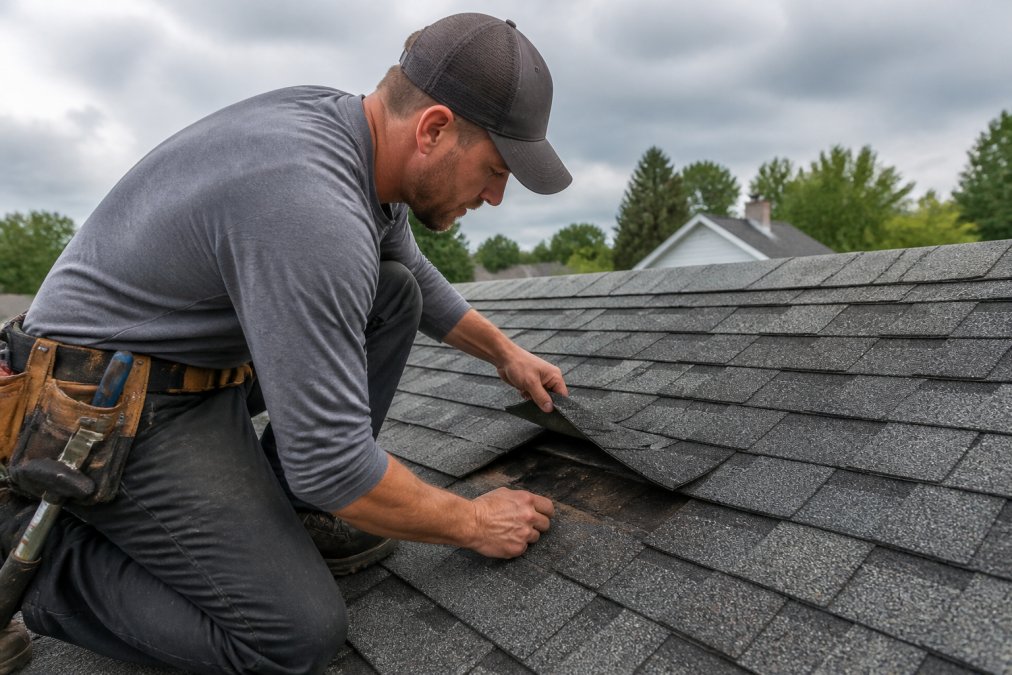
Damaged shingles are entry points for water. Missing shingles, curled edges, bald spots, or visible cracks all need attention.
To remove a damaged shingle, lift it gently, remove the nails, and slide it out. If stuck, carefully pry it loose with a flat tool.
Slide the new shingle into place, nail it down with roofing nails flush with the surface, and apply roofing cement under the nail heads.
For asphalt shingles, ensure new shingles match the existing ones. Color and thickness matter for both function and appearance. If you cannot find a perfect match, consider replacing a larger section so it looks intentional.
Step 5: Apply Roof Sealant and Waterproof Tape
After repairs are complete, add an extra layer of protection. Roof sealant and waterproof tape create a moisture barrier that prevents water from finding gaps.
Apply roof sealant to all seams and joints. Use a caulking gun for precision. Sealant should be continuous and smooth. Avoid overapplying, which looks messy and doesn't add protection.
For areas prone to leaks, such as roof valleys and around penetrations, apply waterproof tape. This self-adhesive tape sticks directly to the roof surface. Press it firmly to ensure good contact. Waterproof tape works best on clean, dry surfaces.
Allow all sealants and tapes to cure fully before exposing them to water. Check manufacturer instructions for cure time, typically 24-48 hours.
Long-Term Structural Damage Assessment
Recurring leaks cause hidden damage inside your roof system. Water soaks into the roof decking, insulation, and framing. Mold grows in damp spaces. Structural integrity deteriorates. Assessing this damage tells you whether repair is enough or whether you need roof replacement.
Look at the underside of the roof decking from your attic. Soft spots, dark stains, or visible rot mean the wood has absorbed water. Press gently with a tool. If it leaves a mark or feels spongy, the decking is compromised.
Check insulation for moisture. Wet insulation loses its R-value and promotes mold growth. If insulation is wet, it needs replacement after the leak is fixed.
Examine framing members for rot or mold. These are serious signs. Structural framing that has rotted loses strength. This is a safety concern and requires professional assessment.
If damage is limited to a small area, localized repair may be sufficient. If damage is widespread across multiple areas, roof replacement is more cost-effective than repeated repairs.
DIY vs. Professional Roof Leak Repair
Deciding whether to repair the leak yourself or call a professional depends on several factors. Complexity, safety, and your skill level all matter.
DIY repair works for simple fixes. If the leak is clearly from a cracked vent boot or a small flashing gap, and you're comfortable working at heights, you can handle it. The repair takes a few hours and costs only materials.
Professional repair is necessary for complex leaks. If you cannot locate the source, if damage is extensive, or if the roof is steep or high, hire a contractor. Professionals have equipment, experience, and insurance to handle difficult repairs safely.
Safety is the biggest factor. Working on a roof carries serious risk. Falls from heights cause severe injuries. Wet or icy roofs are slippery. Steep pitches are unstable. If you lack experience or the conditions are risky, call a professional.
At SunPro Contracting LLC, we assess the damage, identify the real cause, and fix it properly so it doesn't happen again.
Cost of Professional Roof Leak Repair
Professional roof leak repair pricing depends on the cause, location, and extent of damage. Simple repairs cost less than extensive structural fixes.
A basic flashing repair or vent boot replacement typically runs a few hundred dollars.
Insurance Claim Documentation for Roof Damage
If a storm or weather event caused the roof damage, your homeowner's insurance may cover repairs. Proper documentation is essential for a successful claim.
Preventing Future Roof Leaks
Once you've fixed the recurring roof leak, take steps to prevent it from happening again. Regular maintenance and prompt repairs stop most leaks before they start.
Frequently Asked Questions
Why does my roof only leak sometimes?
Recurring roof leaks often depend on weather conditions and water flow patterns. Heavy rain, ice damming, or wind-driven moisture can expose weak spots in flashing, vent boots, or shingles that don't leak during dry spells. The leak may also follow the roof's slope and water barriers differently each time, appearing in different locations. This is why finding the true source, not just the symptom, is critical to fixing recurring roof leaks permanently.
How much does it typically cost to repair a roof leak?
The cost of professional roof leak repair depends on the source, extent of damage, roof pitch, and material type. A simple flashing repair may cost less than shingle replacement or structural repairs. Weather damage, ice damming, or multiple leak points increase costs. For an accurate estimate tailored to your specific roof condition, contact a qualified roofer who can assess the damage on-site. Many insurers cover storm-related damage, which can offset repair costs.
Can a roof leak be repaired from the inside?
No, roof leaks must be repaired from the exterior where the damage occurs. Water enters from outside through damaged shingles, flashing, vent boots, or roof penetrations. Attempting interior repairs only treats the symptom (water stains, moisture) while the leak continues. However, you can inspect from inside your attic to locate where water enters, then access the roof exterior to make permanent repairs using roof sealant, waterproof tape, or shingle replacement.
How do I know if my roof leak is a recurring structural issue?
Recurring leaks in the same spot suggest the initial repair didn't address the root cause. Signs of structural damage include sagging roof decking, soft spots when walking on the roof, visible rot around penetrations, or persistent moisture in the attic after repairs. A thorough inspection by an experienced roofer can identify whether the problem is repair quality or structural compromise.