 ultimate-guide
Commercial Roof Inspection Checklist: 2026 Guide
Table of Contents
- Why Regular Commercial Roof Inspections Matter
- The Complete Commercial Roof Inspection Checklist
- Creating Your Roof Inspection Report Template
- Seasonal Commercial Roof Maintenance Schedule
- Recognizing Signs of Commercial Roof Failure
- OSHA Roof Safety Requirements and Compliance
- DIY Inspection vs. Professional Assessment
- Drone and Thermal Technology in Roof Inspection
- Frequently Asked Questions
Last Updated: September 30, 2026
Why Regular Commercial Roof Inspections Matter
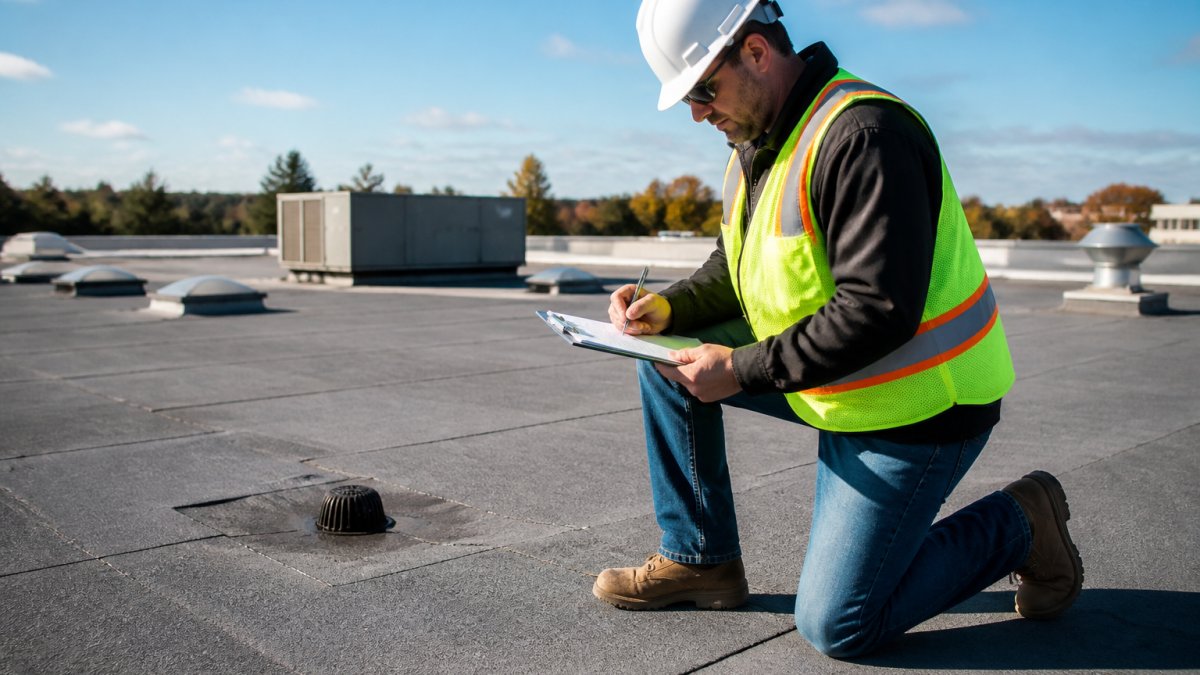
A commercial roof inspection checklist is your first line of defense against costly water damage, structural failure, and business interruption. Most property managers don't inspect their roofs until something breaks. By then, the damage has already spread to insulation, structural framing, and interior spaces. Regular inspections catch problems early, before they become expensive emergencies.
A small membrane tear costing $500 to repair today becomes a $15,000 interior water damage claim in six months. Systematic inspection on a defined schedule prevents this escalation.
Commercial roofs face unique stresses: flat designs trap ponding water, rooftop equipment creates penetration points, and weather exposure compounds over time. A commercial roof inspection checklist provides a repeatable process to catch deterioration early.
A roof failure disrupts operations, creates liability exposure, and can void insurance coverage without documented maintenance compliance.
The Complete Commercial Roof Inspection Checklist
A thorough roof inspection checklist covers eight critical areas. Work through each systematically, photograph findings, and record everything in a standardized report template.
Roof Surface and Membrane Inspection
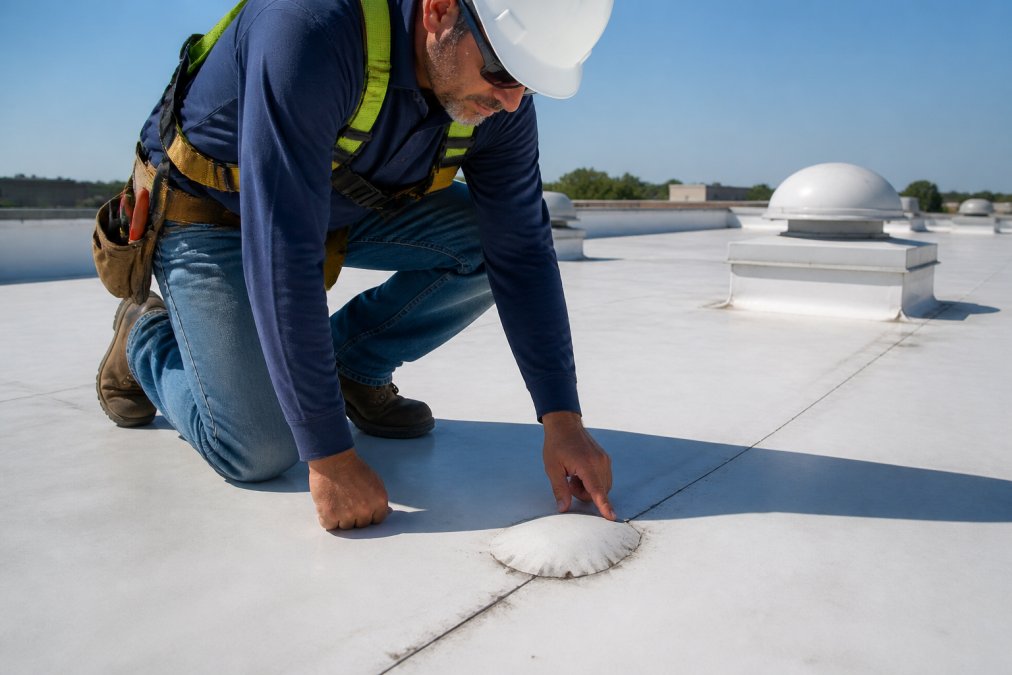
Examine the membrane, the waterproof layer protecting everything below. Check seam integrity first, seams are the most common failure points.
Walk the entire roof surface and document blistering, cracking, punctures, and tears. Blistering indicates membrane failure; even hairline cracks expand with temperature changes.
Check for membrane separation from termination bars or edges, which allows water migration underneath. Patched areas are weak points prone to future failure.
Drainage System and Gutter Assessment
Water that doesn't drain finds every membrane weakness. Examine scuppers, gutters, downspouts, and internal drains for blockages from debris, leaves, and vegetation.
Clear gutters and downspouts completely. Verify downspouts direct water away from the building foundation to prevent masonry and siding damage.
Check roof slope for flat spots where water pools, which indicate potential structural issues.
Flashing and Termination Point Checks
Flashing seals edges where the membrane meets walls, parapets, and penetrations. Flashing failure is the second-most common leak source.
Inspect all flashing around penetrations for proper sealing and separation. Recaulk cracked or separated caulk immediately with roofing-grade sealant.
Examine termination bars for secure fastening and sealing. Loose or corroded bars allow wind to lift the membrane edge.
Check metal flashing for rust or corrosion. Minor surface rust can be painted; deep pitting requires replacement.
Interior Ceiling and Leak Detection
Walk interior spaces below the roof for water staining on ceilings, walls, and structural members, which signals vulnerabilities that may reopen during heavy rain.
Check insulation saturation in accessible spaces. Wet insulation loses R-value and creates mold risk.
Look for mold growth (dark spots on framing or insulation), which requires professional remediation.
Document water stains with photos and measurements to confirm leak location and prioritize repairs.
Parapet Wall and Coping Inspection
Parapet walls extend above the roof line; the coping caps the top. Water penetration at this junction is common due to weather exposure.
Examine coping for cracks, loose pieces, or deterioration. Check sealant between coping and parapet wall; cracked or missing sealant allows water infiltration.
Remove vegetation from the parapet; plant roots damage masonry and create water infiltration pathways.
Inspect parapet masonry for cracks, loose mortar, or deterioration. Document visible damage.
HVAC Unit and Rooftop Equipment Clearance
Inspect curbs or bases where HVAC units and rooftop equipment connect to the roof.
Verify equipment is secured and vibration hasn't loosened fasteners.
Examine clearance around equipment. Debris accumulates in tight spaces, blocking drainage. Equipment should be elevated on proper curbs with adequate drainage.
Verify condensate drains from HVAC units are properly routed to prevent wet areas that accelerate membrane degradation.
Ponding Water and Debris Assessment
Ponding water (standing water 48 hours after rainfall) indicates inadequate slope or blocked drainage and accelerates membrane aging.
Photograph ponding areas; even shallow pooling indicates a problem requiring slope adjustment or additional drainage.
Remove all debris from the roof surface; it blocks drainage, traps moisture, and promotes vegetation growth.
Remove vegetation, moss, algae, or plant growth, which retain moisture and accelerate degradation. Use cleaning methods appropriate for your membrane type.
Creating Your Roof Inspection Report Template
Document your findings in a standardized format so you have a record for insurance, warranty claims, and future reference. A basic roof inspection report template should include these elements:
| Report Section | Content | Purpose |
|---|---|---|
| Property & Date | Address, inspection date, inspector name | Establishes when and where inspection occurred |
| Membrane Type | TPO, EPDM, PVC, or other | Identifies material-specific maintenance needs |
| Overall Condition | Good / Fair / Poor rating | Summarizes roof health status |
| Findings | Detailed notes on each area inspected | Documents specific issues discovered |
| Photos | Timestamped images of problems | Provides visual evidence for claims |
| Recommendations | Priority repairs and timeline | Guides maintenance planning |
| Next Inspection | Scheduled date for follow-up | Ensures regular monitoring continues |
Photograph every finding with location context and close-ups. Include a scale object to show damage size.
Write specific notes (e.g., "2-inch tear in TPO membrane, southeast corner, near HVAC curb") to help contractors prioritize repairs and estimate costs.
Seasonal Commercial Roof Maintenance Schedule
Commercial roof maintenance follows seasonal patterns. Different times of year present different challenges.
Spring: Inspect for ice, wind, and temperature damage. Clear winter debris.
Summer: Inspect for UV damage, blistering, and verify HVAC drainage.
Fall: Clean gutters multiple times. Prepare for winter by ensuring drainage and flashing are sealed.
Winter: Inspect for structural stress and ice dam damage.
Schedule formal inspections at least twice per year, spring and fall. After severe weather events (hail, high winds, heavy snow), conduct additional inspections. Document all inspections in your maintenance log.
Recognizing Signs of Commercial Roof Failure
Active leaks mean the membrane has failed. Stop leaks temporarily with tarps or emergency sealant; plan permanent repair immediately.
Large areas of blistering (>10% of roof) indicate advanced membrane decline.
OSHA Roof Safety Requirements and Compliance
Working on commercial roofs carries serious fall hazard. OSHA regulations require specific safety measures. Understanding these requirements protects your team and ensures compliance.
DIY Inspection vs. Professional Assessment
Many property managers ask whether they can perform roof inspections themselves or should hire professionals. The answer depends on your comfort level with heights, roof access, and technical knowledge.
Drone and Thermal Technology in Roof Inspection
Modern inspection technology makes roof assessment faster, safer, and more comprehensive. Drones equipped with high-resolution cameras can photograph the entire roof without requiring personnel to access the roof surface. This eliminates fall hazards and provides detailed images for analysis.
Frequently Asked Questions
What should a commercial roof inspection include?
A thorough commercial roof inspection covers membrane condition (TPO, EPDM, PVC), drainage systems and scuppers, flashing and termination bars, interior water staining, parapet walls and coping, HVAC curbs and equipment clearance, ponding water, debris removal, and structural integrity. Documentation of findings, photos, and condition ratings for each area ensure accurate asset management and warranty compliance.
How often should a commercial roof be inspected to maintain warranty compliance?
Most manufacturers require inspections twice yearly (spring and fall) to maintain warranty coverage. After severe weather events, inspect immediately. Commercial roof maintenance schedules should also include post-storm assessments and annual detailed evaluations. Regular documentation prevents gaps in warranty claims and helps identify issues before they escalate into costly repairs.
What are the main signs of commercial roof failure?
Signs of commercial roof failure include visible blistering or cracking in the membrane, seam separation, interior water staining or active leaks, ponding water that doesn't drain within 48 hours, debris accumulation, fastener corrosion, flashing deterioration, and moisture infiltration into insulation. Any combination of these indicators suggests professional inspection is needed to prevent structural damage and costly downtime.
What are the key OSHA roof safety requirements for inspections?
OSHA requires fall protection for workers on roofs over 6 feet high, including safety harnesses, anchor points, and guardrails. Inspectors must follow OSHA 1926.500 standards for roofing work. Proper training, hazard assessment, and documentation are mandatory. Weather conditions, roof pitch, and surface condition affect safety protocols. Professional inspectors carry current certifications and maintain compliance records.
What is the 25% rule in roofing?
The 25% rule states that if damage or deterioration affects more than 25% of the roof's surface area, replacement is typically more cost-effective than repair. This threshold varies by roofing material (TPO, EPDM, PVC) and manufacturer guidelines. Inspection reports should note affected percentages to help property managers make informed decisions about repair versus replacement based on roof lifecycle and warranty terms.
Can I perform a roof inspection myself, or should I hire a professional?
Visual inspections from ground level can catch obvious issues, but professional inspections are essential for accurate assessment. Professionals use access safety equipment, identify hidden damage, document findings properly, and provide reports acceptable to insurance and warranty providers. DIY inspections miss membrane seam integrity issues, internal moisture, and structural concerns that require trained eyes and specialized tools.
How do seasonal changes affect commercial roof inspection schedules?
Spring inspections assess winter damage (ice dams, freeze-thaw cycles, debris). Fall inspections prepare for winter and check summer heat damage. After severe weather (hail, high winds, heavy rain), immediate inspection is critical. Seasonal commercial roof maintenance schedules should account for local climate patterns, vegetation growth affecting drainage, and UV exposure that degrades TPO and EPDM materials over time.